| << | Disc 1 - Disc 2 - Disc 3 - Disc 4 | >> | ||||||
|---|---|---|---|---|---|---|---|---|
| Whorl | Uhra | Ipsilon Mts | Construction Base | Sea of Baus | White Boa | Numara | Ghost Town | Crimson Forest |
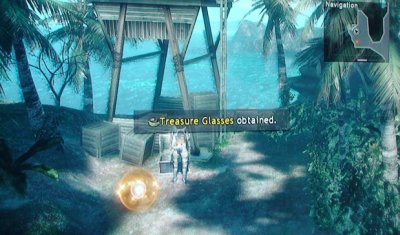
Treasure Glasses
Eastern Shore[]
There is a Save Orb to the NW (the orange dot on your mini map), I'd recommend using it. Behind the orb is a chest with Treasure Glasses. This accessory teaches Treasure Analysis something you are going to want your immortals to learn as it is quiet useful. As there are no monsters here and no more items the only thing left to do is head north and exit zone.
Rocks near Sunken Ship[]
|

All-Shield
Move along the west side for a clam shell containing Healing Medicine. North of the shell in the wreckage of the ship there is a dead end that leads off to the E at the end of it is a shell containing Sticky Tape x4. Go to the W and you'll come across another dead end with a magic generator that occasionally flashes a light. If you approach the generator while it's glowing you will get a battle with monsters. If you approach it when there is no light you'll be able to ram it and get an item in the case Insect Innards x3. In the ship wreckage right before the wall you have to ram to get past is a chest containing All-Shield Spell.
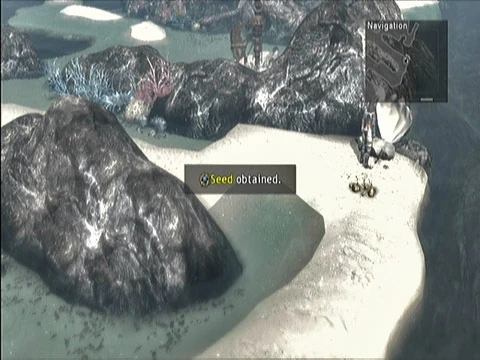
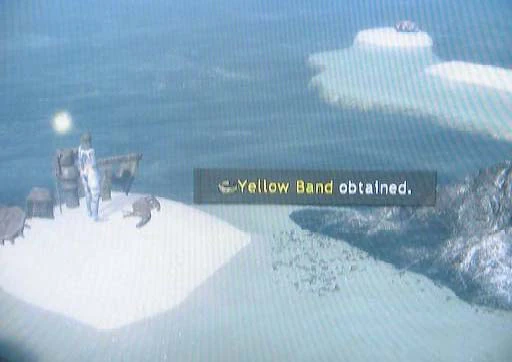
Seed #21
Reef Shallows[]

Yellow Band
On the E side of of the path before you run into any generators there is a clam with Seed # 21. From the clam go as far W as you can for the first generator ram it for the Yellow Band. It will teach you Anti-Paralysis this skill will be very important in an upcoming battle make sure your immortals learn it as quickly as possible. Head NE from the generator with the yellow band for the next generator containing Anti-Paralysis Herb . This Generator can be kind of hard to see it'll be on the far right of your screen. Go E past where that generator was for a dead end for a clam with Magic-Luring Stone. Head NW for a Clam on a little sand bank with Mana Herb.
Beach of the Wastes[]
As you enter this zone you'll notice that there are a TON of generators. Before you go all crazy ramming them stop for a moment. This is a fantastic place to grind. Instead of running around for random battle events just get close to a generator while it's flashing and instant battle. While grinding for levels is ok grinding for skills on your Immortals is where you'll see the real pay out. That said there is an accessory in this zone that you will want to get before you start grinding. Go north all the way to the end of the zone without hitting any of the other generators. Ram the second to last generator in this zone for Apprentice Earrings. Now now grind to your hearts content. I would recommend getting Anti-Paralysis on both your immortals before you leave. The Apprentice Earrings will teach Level 2 Black-White Magic and that is a nice skill to have on both of your immortals but not as important as Anti-paralysis. After you are done grinding go through and ram all the generators for : Ground Bomb, Slot Seed, Angel's Plume, Anti-Paralysis Herb, Power Drink, Seed # 22, and Seed # 23. Now that you have everything exit to the north.
  Seed #22 |
  Seed #23 |
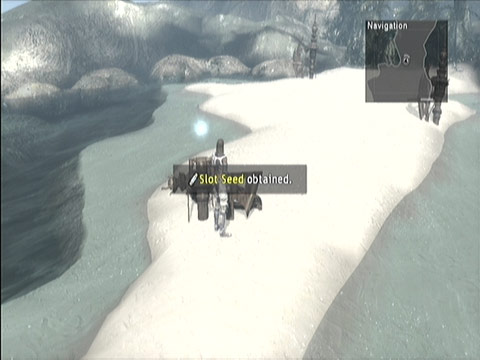  Slot Seed |
|---|
Crater Island[]
|


All-Barricade
There are different monsters here but they aren't terribly powerful, adjust your rings accordingly (Adamantis Ring is pretty useful against these guys) and be on your way. Stay along the NW side before you go up the stairs there will be a chest with Pumice of Despair x 4. Go up 3 flights of stairs, at the top of the third one you'll notice you can go to the E follow the stone path down to find a chest with All-Barricade spell.
Ok it's time to do some pre-game before you go any further make sure you've done everything you want to do in the Sea of Baus because you won't be coming back here. If you are done (and you should be if you have been following this guide) put Anti-Paralysis, Guard Heal, and Level 2 Black-White Magic skill on both your immortals and the Yellow Band on Jansen. Once you are finished head up the last flight of stairs use the save orb. Restore the HP/MP of your party members with items (or quit the game and reload it to restore HP/MP to full without using any items) and Exit the zone. Enjoy the cut scenes and the boss fight
| Bogimoray Boss Fight | |||||||||||||||||||||||||||||||||||||||||||||
|---|---|---|---|---|---|---|---|---|---|---|---|---|---|---|---|---|---|---|---|---|---|---|---|---|---|---|---|---|---|---|---|---|---|---|---|---|---|---|---|---|---|---|---|---|---|
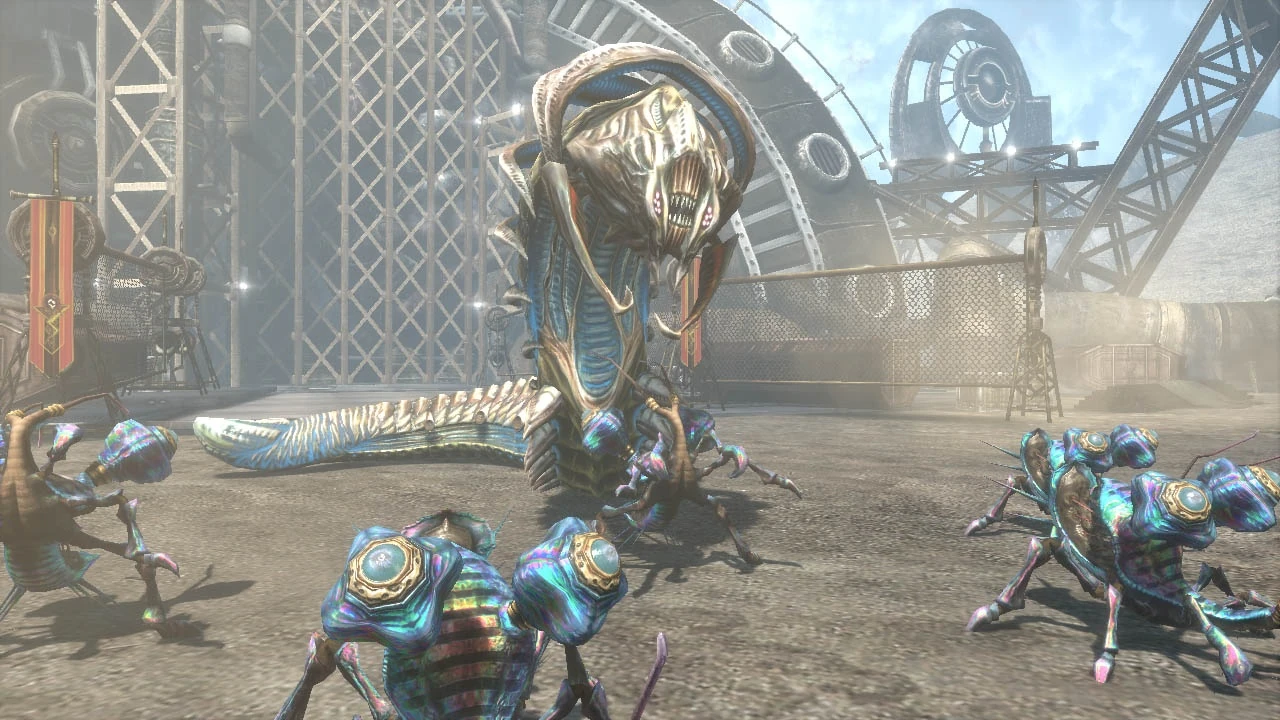  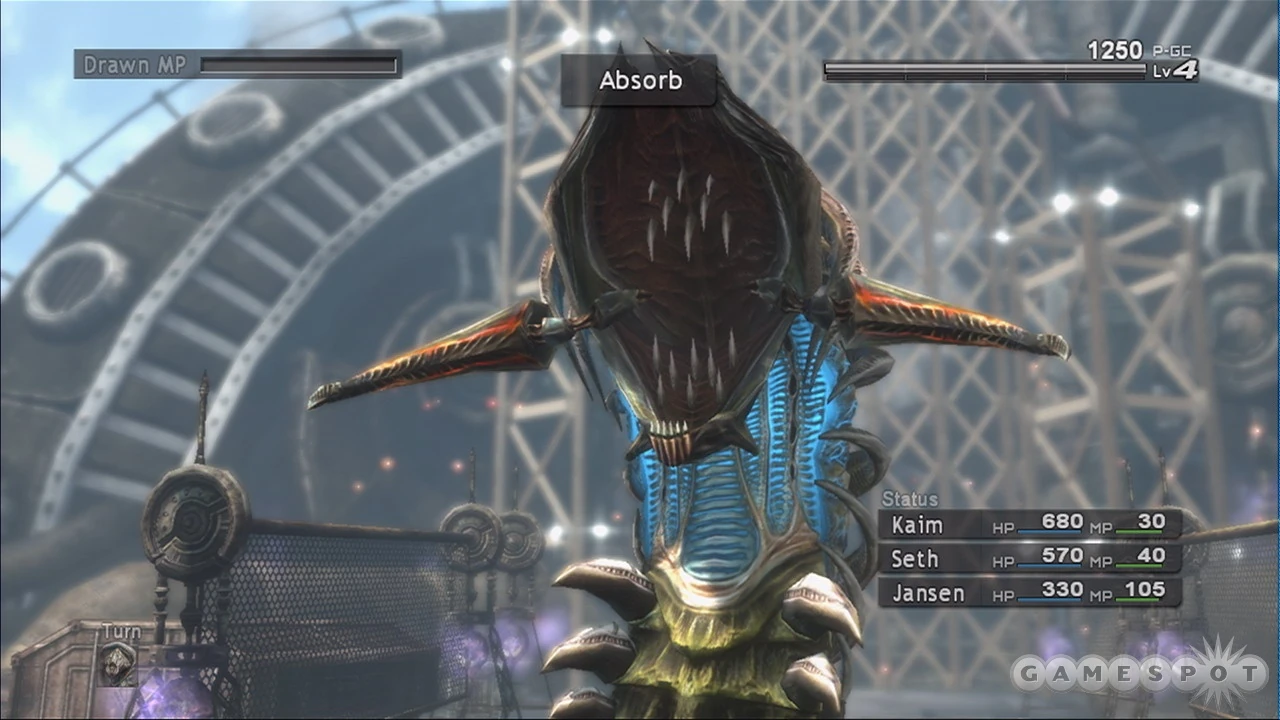
| |||||||||||||||||||||||||||||||||||||||||||||
| |||||||||||||||||||||||||||||||||||||||||||||


Sage's Protection
After the boss fight you'll be able to take control of your characters again. There's some stuff you can miss here and you only have a short amount of time to get them so pay attention. First lets re-equip and skill your characters. Swap out Anti-Paralysis for Steal on both your immortals and give them Bruiser Rings. You can change Jansen's accessory to pretty much whatever you want but you won't be needing Anti-paralysis any time soon.. There will be having an unavoidable fight here shortly but don't bother restoring your hp/mp just yet.
Turn around and talk to Jansen to the W is a chest containing Sage's Protection. You'll see Seth to the north hug the W side of the wall directly south of Seth is a blue orb if you are running along the w wall you'll pass through it. It will restore all of your HP and MP for free. Go to the E side there's a chain-link fence and on the other side a chest with Healing Potion. After you grab that go talk to Seth. Head to SE corner of the map and examine the pipe. This should advance the plot forward and bring you to the next fight.
|
Once the fighting starts you'll be presented with a group of soldiers and one caster in the back. The caster only heals all the damage in this fight will be physical. Have one of your characters cast Shield on the party (don't bother with all shield normal shield will be fine). If you have Treasure Analysis you'll notice that the caster in the back has Circlet both as a stolen and dropped item. There are two ways to get the Circlet from him you can either steal it or kill him. This fight ends when you have killed all the soldiers and that does not include the Numara White Magician. So it is possible to win this fight without killing him and if he doesn't die you don't get the Circlet. I like to just kill him stealing is just too much effort and after he's dead there will be no more healing for the soldiers making the fight a lot easier. If you go that rout have Jansen cast spells at him till he's dead and have Kaim and Seth deal with the soldiers. Keep an eye on your health and have Seth (because she can cast spells quicker then Kaim) heal when necessary. After all the Numara Soldier's are dead the fight will be over.
Numara Troop Camp[]


Light Lens
There's some stuff you can miss here as well and a time limit. Approach W the edge of Kaim's the cage to unlock They Live in Shells Dream. Talk to Jansen, for some scenes then ram the cage door to switch to Jansen. Go to the S end of the cage and Jansen will say he sees some rats you'll be given an option to kick the rat do so and switch Seth. She also sees the rats go to the S of her cage kick at them then switch to Kaim. There will be something glowing on the floor pick it up for Light Lens. Don't take too long though you have a time limit. If you don't do this quickly you won't be able to do it at all.
| << | Disc 1 - Disc 2 - Disc 3 - Disc 4 | >> | ||||||
|---|---|---|---|---|---|---|---|---|
| Whorl | Uhra | Ipsilon Mts | Construction Base | Sea of Baus | White Boa | Numara | Ghost Town | Crimson Forest |